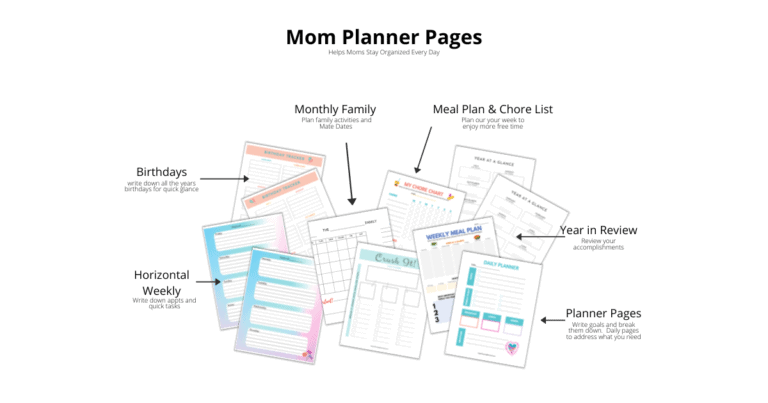
Best Planner Supplies and Accessories for DIY Planner
If you’re like most people, you rely on a planner to help keep you organized. But if you’ve ever tried to use a generic planner, you know that it’s not customizable to your needs. That’s why many people are choosing to create their own planners using customized tools and supplies. We will discuss the essential planner supplies that you need. As well as the fun of creating a personalized planner that meets your specific needs!
A personalized, or DIY customized planner can reflect your personal style, keeping you on schedule. It helps you stay organized and reminds you of things you need to get done. However, to really get the most from your planner you need some supplies to make it what you need it to be.
Now, with so many options available, we first need to distinguish between the essentials and accessories. Planner essentials are items everyone who personalizes will need. Accessories are the items we choose to add, that someone else may not want or need.
This post may contain affiliate links, which means I may receive a commission, at no extra cost to you, if you make a purchase through a link. Please see my full disclosure for further information.
Planner Supply Must – A Printer
If you are creating or at the very least printing your own covers, pages, and dividers, you need a couple of specific items. Of course, the first being a printer.
Now, color printers are preferable so you can get the most out of your creative spirit with color pages.
Your options are between a laser jet and inkjet printer. Laser jets bake the ink onto the page so that there aren’t issues like smudging.
However, the cartridges are more expensive, but they do last longer. Now this may sound like a win, but I opted for the inkjet.
An inkjet prints faster, but when the page first comes out it can look wet. The cartridges are cheaper than laser jet, but don’t last as long. I personally don’t go through much ink except at the beginning of the year.
That’s because I do all my monthly calendars and weekly planners pages at one time to have it all finished.
The printer I prefer is the HP Inkjet Printer. It was affordable and fully loaded 😆. It prints two-sided, and for scanning has a paper tray, which for me is an absolute must. Because I use my printer for more than just my planner pages!
Paper Choice
Why is paper an important essential item? Regular printer paper will NOT work for an insert but may be acceptable for your planner pages.
The standard printer paper is 20lb but is very thin. Which means some gel pens and markers may bleed through regular paper.
Not to mention that the lighter the sheet the more likely any pattern you print will show through on the other side. Which of course also means, you would only want to print one sided.
The thinner the paper, the more likely graphics, or even text, can show through to the other side.
The type of paper that you are going to want to use for printing out your inserts is different than the type you would use to print planner pages. There are many different weights of paper. I have found that a 28lb weight is good for planner pages. While a 32lb weight works nicely for my planner inserts.
Let’s not forget to discuss the brightness. The brightness of the paper is measured between 0-100. Just as it sounds it is a measurement of how bright your paper is.
For planner pages, you are best off choosing brightness around 100 so that your paper is truly white. Choosing a higher brightness insures vibrant colors. A great way to decide is purchase some smaller bundles and try them out to find what you like and works for you best.
Printing Planner Pages & Inserts
[convertkit form=3440149]
When you first begin printing you planner sheets, only do two at a time. That way, if there is something wrong, such as the pages not lining up, or you have to change ink, you can do it.
No matter what size you print, there is a way that works. If you don’t have a two-sided printer, you want to load up the paper, select Print All Odd Pages. Next, turn over and reinsert it. Then select Print All Even Pages.
Now I have found that with my printer I can select print both sides, and have it come out correctly only if I have my PDFs open in the Edge browser. For some reason Adobe DC prints them off to the left, as well as Google, so that my pages never line up properly.
This is a good example of why we print just a couple first. Imagine the waste if I had done the whole year before realizing which program worked for what I wanted.
Another thing to consider is the perfect size of your planner page. You will need to make sure that you have it scaled up or down for the page size you want.
I mostly use the Classic Happy Planner size. Therefore, I have actually went in and created this as a custom size in my printer. If you are unaware on how to do this, then simply adjust the full size to 82%.
This works great for getting that size right in the middle of the page. However, there are plenty of tutorials on how to scale PDFs to fit different sizes of planners online.
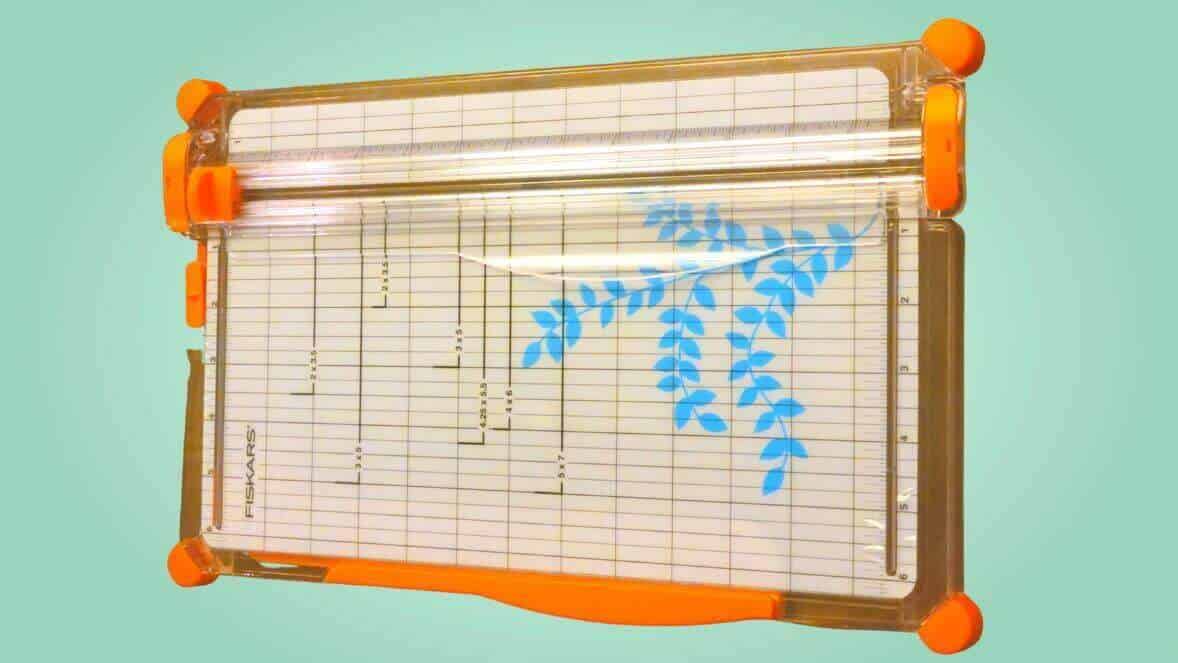
Best Tool for Cutting Pages
The best way to cut printable daily planner pages is to use a paper trimmer. Now, I’m not talking about those old ancient wood blocks with the giant blades!
There are lighter and more affordable options such as the Fiskars Craft Paper Trimmer. You can cut several pages at once with one movement, depending on the weight of your paper.
Cutting with a paper trimmer allows straight lines and with the included rulers, it is super easy to cut to the size you need. Just align a sheet with the rulers and slide the blade across.
Make a template for yourself so you know where to line up your pages to get the size you need. Especially if the planner pages you download don’t come with cut lines.
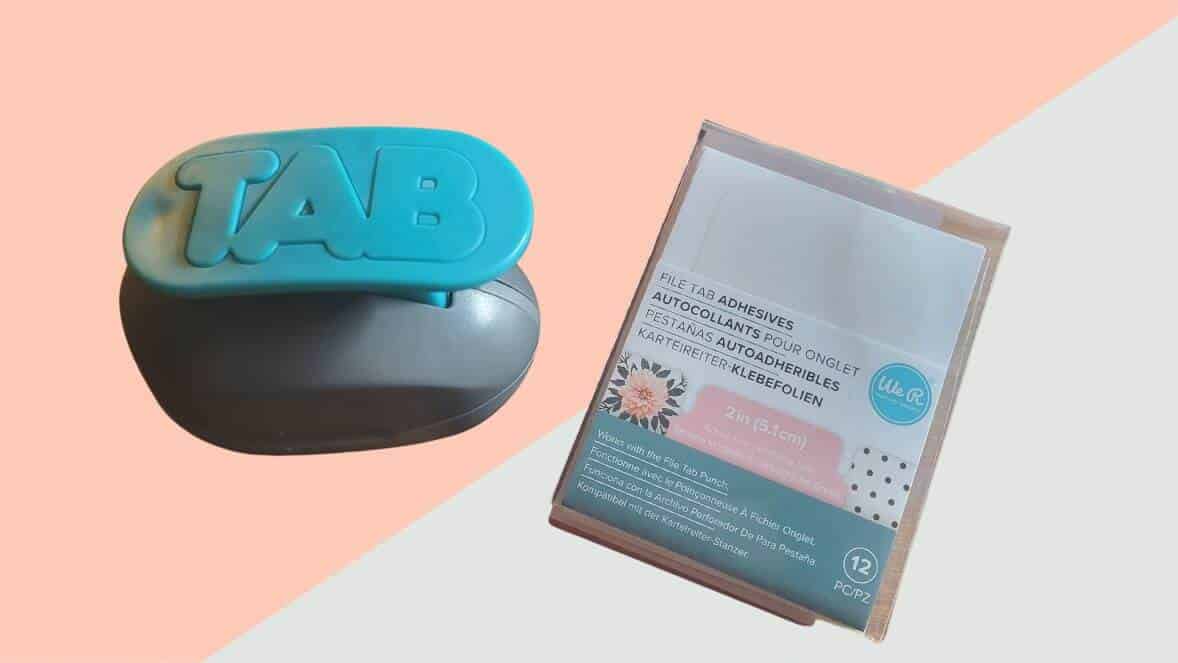
Paper & Tab Punches
Another essential planner tool is a hole punch or arc punch. An arc punch is for disc-bound planners/journals. In addition, you will need a tab punch and planner tabs. We’ll discuss using these in a later blog post. When you have these items you are free to create and add what you’d like!
A regular 3-ring binder punch is a great addition if that is the type of planner you will use.
Having punches just helps you customize more than just writing notes down. They allow you to be creative in what you add to your planner.
If you really get into creating your own inserts, or dividers, you’ll want to keep additional tabs in your DIY planner supplies kit.
Tools for Color Coding Your Planner
There are a multitude of ways to color code your calendar and notes. By adding the colors that empower you, will keep you coming back to your planner every day.
That is why I am listing some nifty planner accessories for color coding your planner in any way you want. Get creative with craft supplies, bring out the YOU in your planner.
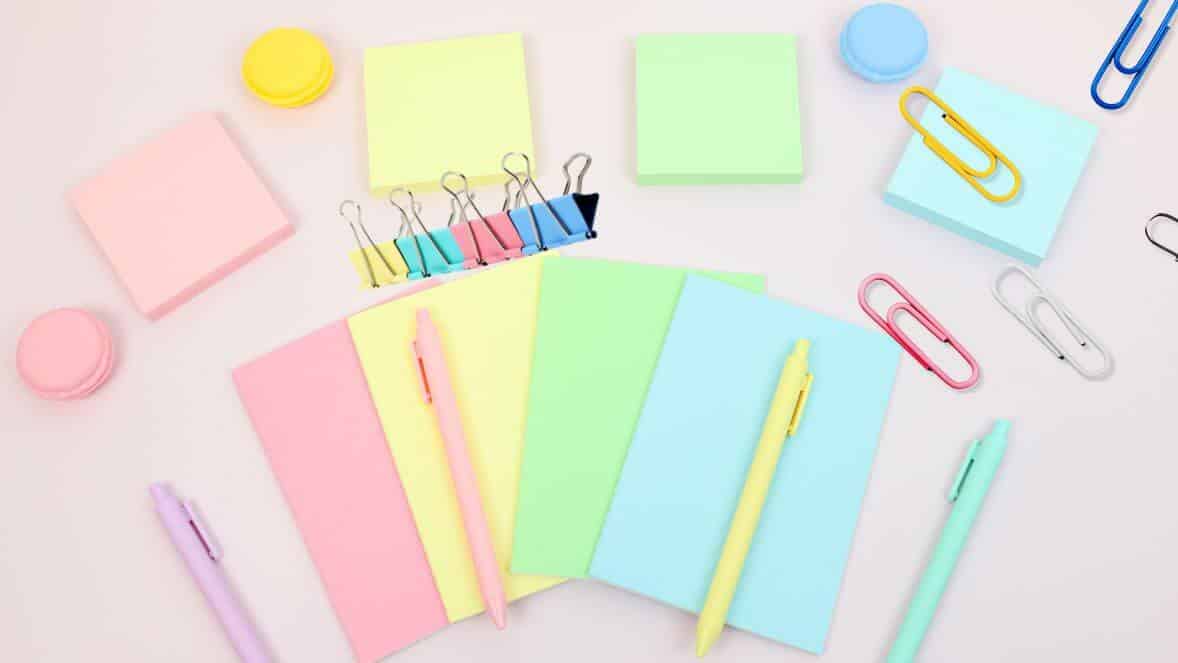
Colored Pens
I love writing with a pen, but always have the fear that I’ll have to change something, and white-out and I just don’t get along. Like – at all! Using colored pencils just doesn’t have the boldness or the vibrancy of color that I like, so I use pens.
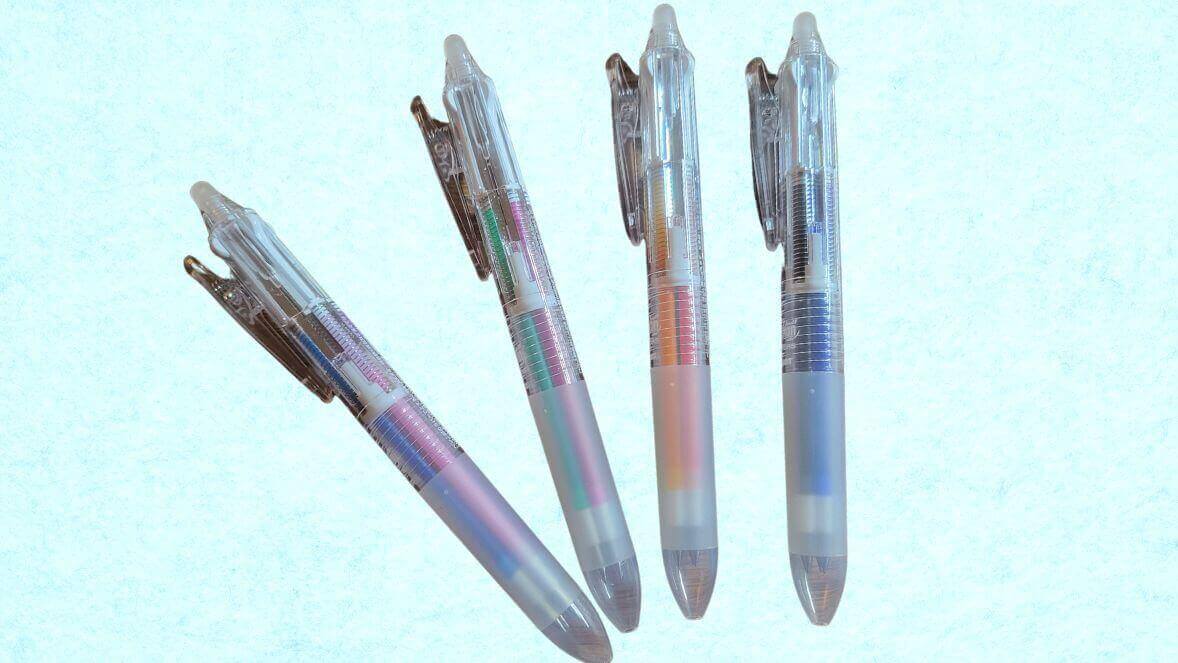
My favorite pens are the Frixion Pilot Pens with the fine tip. I adore them so much that I have the individual pens of each color as well as the multi-pens.
You can buy a couple of the Frixion Multi-pens and the refills that come in 20 colors. That way I can take one pen with a few colors on the go with me in case I need it.
If you are new to the idea of color coding, just feel it out. Like my children’s school colors are purple and white, so of course I use purple ink for any events or appointments related to their school.
My husband’s company is red because that is the color of their logo. I use pink for reminders, because well, I dislike the color. So, it catches my eye.
So, as you can see, a biggie in my planner supplies is gel pens, especially if they are erasable!
My other choice of planner pens are a fountain pen. I just love the way it writes and the vibrancy of the ink. You can also use marker pens that have different tip sizes. I really only use it on my notes page or drawing squiggles on my planner covers.
Make your color coding make sense for you and something that will make the connections you need for it to be useful. You should choose as many categories as you need, but don’t go overboard so that they lose their effectiveness.
There will be things that don’t need to be tracked as closely as others. Just remember that color-coding your days is a reminder to focus on one thing at a time.
Post-it Notes
The most versatile planner supplies are those that can be used for more than one specific task. Post-it notes found in office supplies are the absolute best way to color code those reminders that don’t need to be in your planner.
Not to mention, you can use them to mark off an entire day if your schedule changes. There are so many different shapes and sizes of post-its anymore. You can’t help but love them!
Use the Tabs, for marking information or important dates that occur in the future. The tab will stick out from the page and remind of that coming event.
And of course, different colors, or shapes for the different categories of your schedule. Now if you are a planner addict or even a daily journal writer, there are large tabbed sticky note sheets just screaming out to fit onto the page in your planner. These large sheets come in lined, unlined, tabbed and not tabbed.
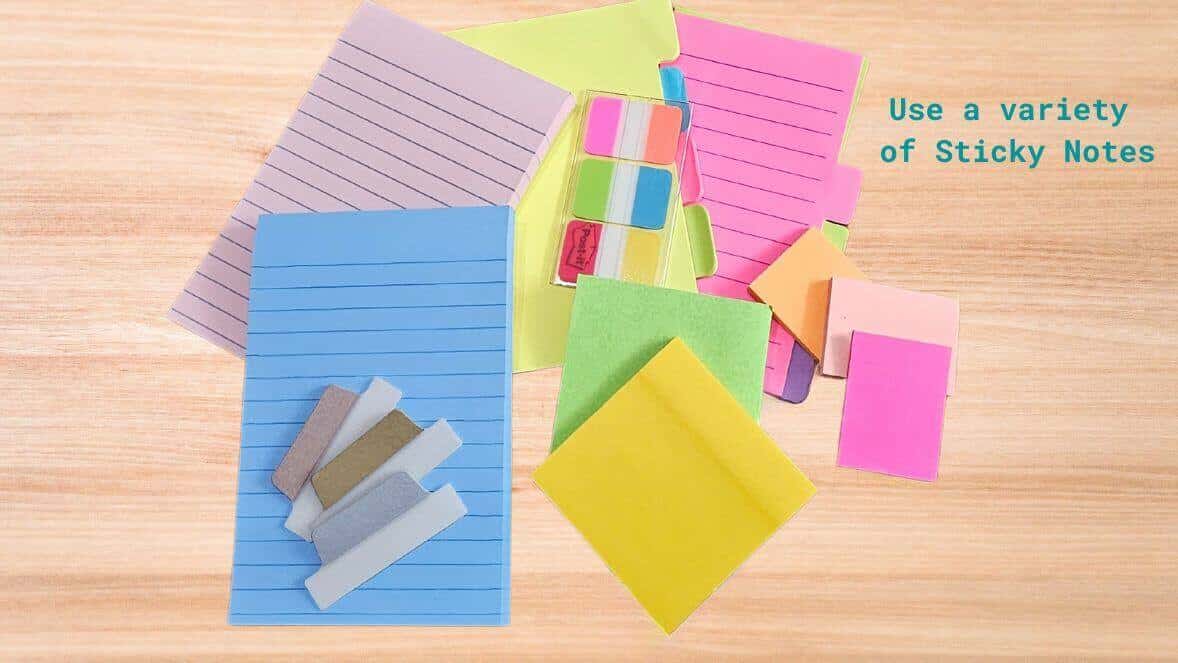
Having a lined pad of post-its while talking to the school, or doctor helps with jotting down quick notes. At those times when you are just making quick notes. Giving you the opportunity to add the post-it to your planner or journal, rather than having to rewrite the entire message.
Really, the list is endless on how you choose to use your post-its. But you can’t deny the benefit of having them handy. This is a personal choice for you to make.
Planner Supplies for Personalization
Now we have discussed the essential planner materials, and some color coding options for your planner. Here is the really fun part. Nifty tools like stickers, tabbed page finders, and stencils. These items are all planner accessories and a fun way to help your personality shine through your planner.
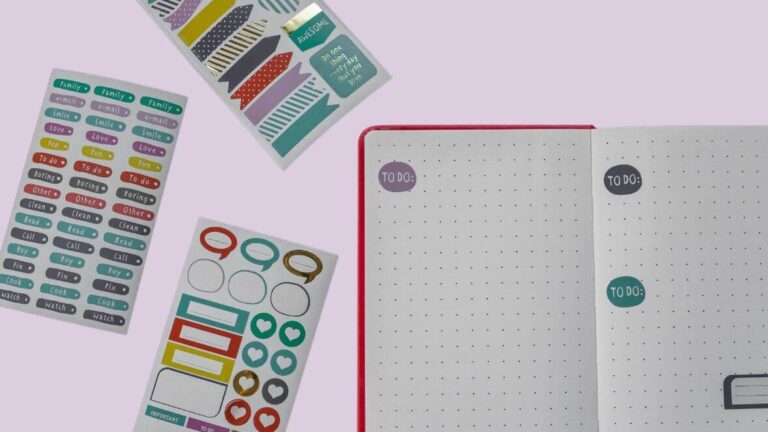
Planner Stickers – Tools for Creating Personality
Now to be honest there are two types of stickers, just like planner pages, you can print your own planner stickers yourself. Going so far as to make and print your own stickers. Then of course, the ones you can buy in booklets.
Printing your own stickers may sound insane but really, if you do this you get the stickers that will be more suited to what you want. The best way to print stickers is to use vinyl sticker paper and then just cut out the stickers.
I love using these holographic sheets for check marks and special events, they just add that extra oomph.
These days, finding sticker sheets suitable for your planner is not difficult. They come in so many varieties. Everything from exclamation points, arrows, a heart or star and others that add to the personal beauty and functionality of your planner.
If you prefer not to print your own stickers, I suggest purchasing a Happy Planner sticker book. These sticker books are jam packed full of a variety of stickers that can be used for anything. From reminders to just adding a heading in a section of your planner.
The colors and designs make the stickers pop, drawing attention to your most important notes. Decorate your planner or journal with stickers that have vibrant colors and appealing designs.
There are also stickers just for visual effects, like quotes, emoji faces, flowers, etc. These may not be the ones to help with reminders but may add personality to your planner.
Washi Tapes – Must Have Organizer Supplies
Washi tape is a decorative tape. It is thin and lightweight and comes in a range of not only colors, but designs. Using this tape can be for more than just giving your notebook flair. Learning all the ways you can use it can be fun. Not to mention, you can use it for more than just in a bullet journal or personal planner.
Washi Tape is one of my favorite planner supplies. Try taking pieces of tape and placing them on the edges of your planner. Kind of like the sticky note tabs, but they won’t stick out. You can use this to help with color coding sections. Or to divide your planner into categories.
Stencils & Tab Page Finders
It may seem odd to group these two items together. However, Happy Planner has some great page tabs that actually have functional stencils right there. These are great for adding check boxes or for creating an extra line for your to-do list.
You can create your own tabbed dividers. Or purchase some colorful small binder clips to use as page markers.
Since happy planner accessories are so often sold out, give the Me & My Big Idea stencils a try as they are similar. You get three different types of tabbed stencils. Allowing you to create everything from headings and checkboxes, to creating outlines with a touch of flair for lists or notes .
You can get stencil kits for just adding geometric shapes, not to mention simple icons such as arrows, boxes, and many common symbols. Play around with what you like and find which ones you will be using most frequently. Stencils can help make your planner look as good as it can.
If you get plastic stencils, you may need to wash them after using them. Especially if you use gel pens or markers. The ink can dry on the stencil and ruin the next one you do, mixing the colors.
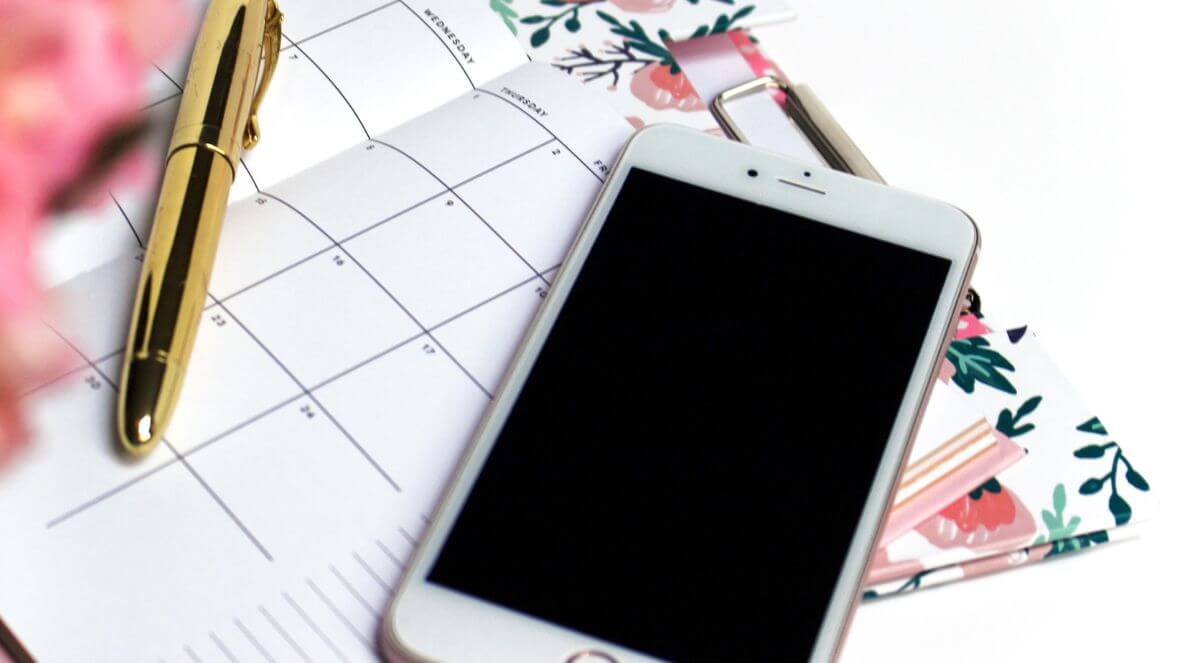
Using a Digital Calendar
Ah-ha, yes you can use your DIY planner and still use a digital calendar! We are after all in the electronic age. The convenience of a digital calendar eliminates the need to carry your personal planner with you everywhere. By using both paper and digital together, you increase your productivity by staying on top of your priorities.
I’ve found that utilizing a digital calendar helps me keep connected with my family. Sharing certain appointments with my husband is a must. To make sure he remembers I add him as a guest in my Google calendar, that way he will receive a notification too.
The key is that while a nice-looking paper planner is nice to have, you need to understand the digital parts of your planning in order for your calendar to work for you. Remember, your paper calendar is for giving you the big picture of your blocks of time, while your Google Calendar gives you the details. Learning to coordinate your planner and calendar may take some time, it is highly recommended.
So why not just use a digital calendar and skip the personal paper planner? The reality, is that digital calendars don’t allow much opportunity to brainstorm ideas, set goals, or create action steps. You can make your appointments, however, paper planners help prioritize and streamline the process of getting them accomplished.
What are YOUR best planner supplies? What types of planner pages do you use, and how do you personalize them to suit you? Share with me in the comments!