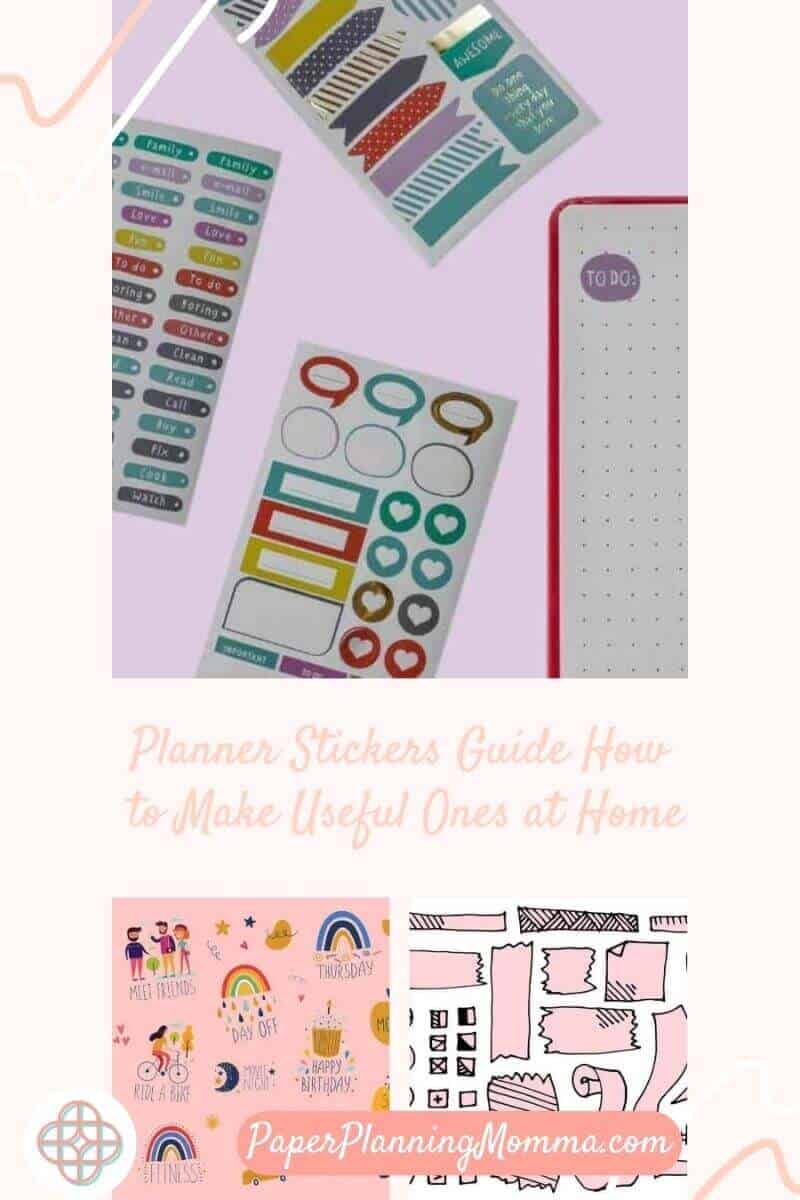
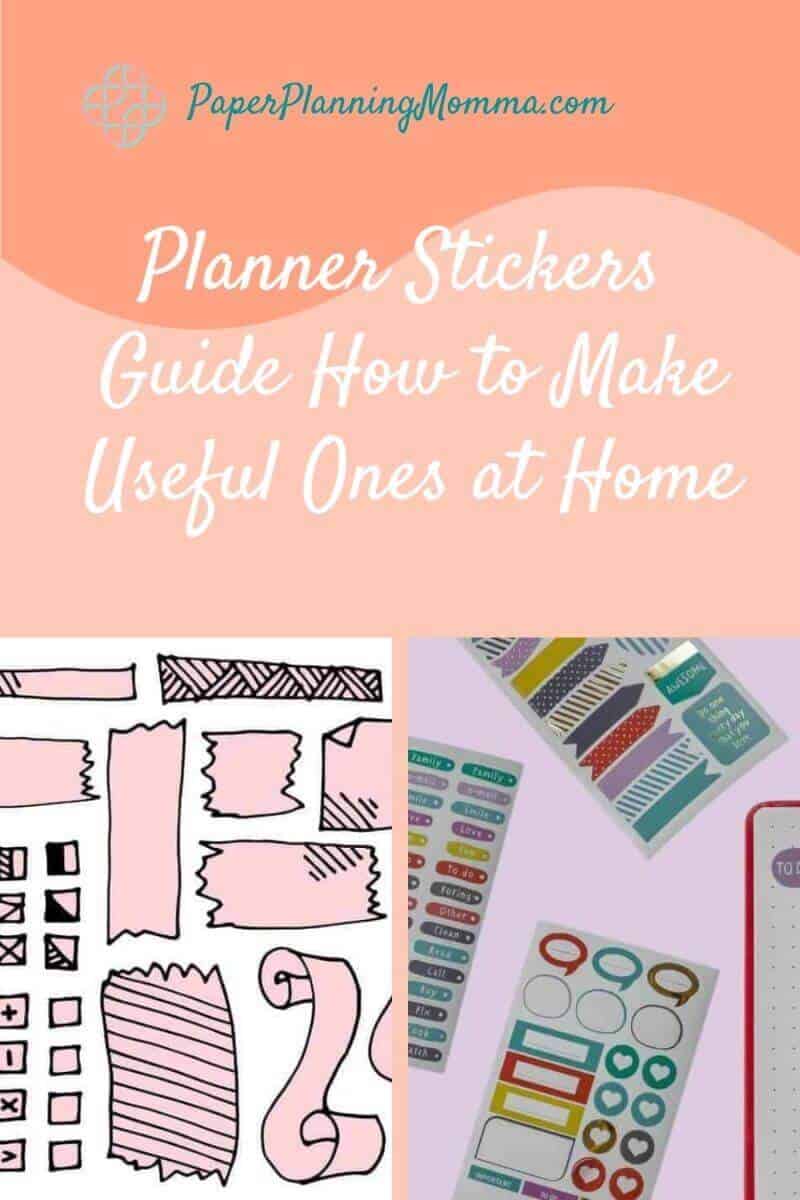
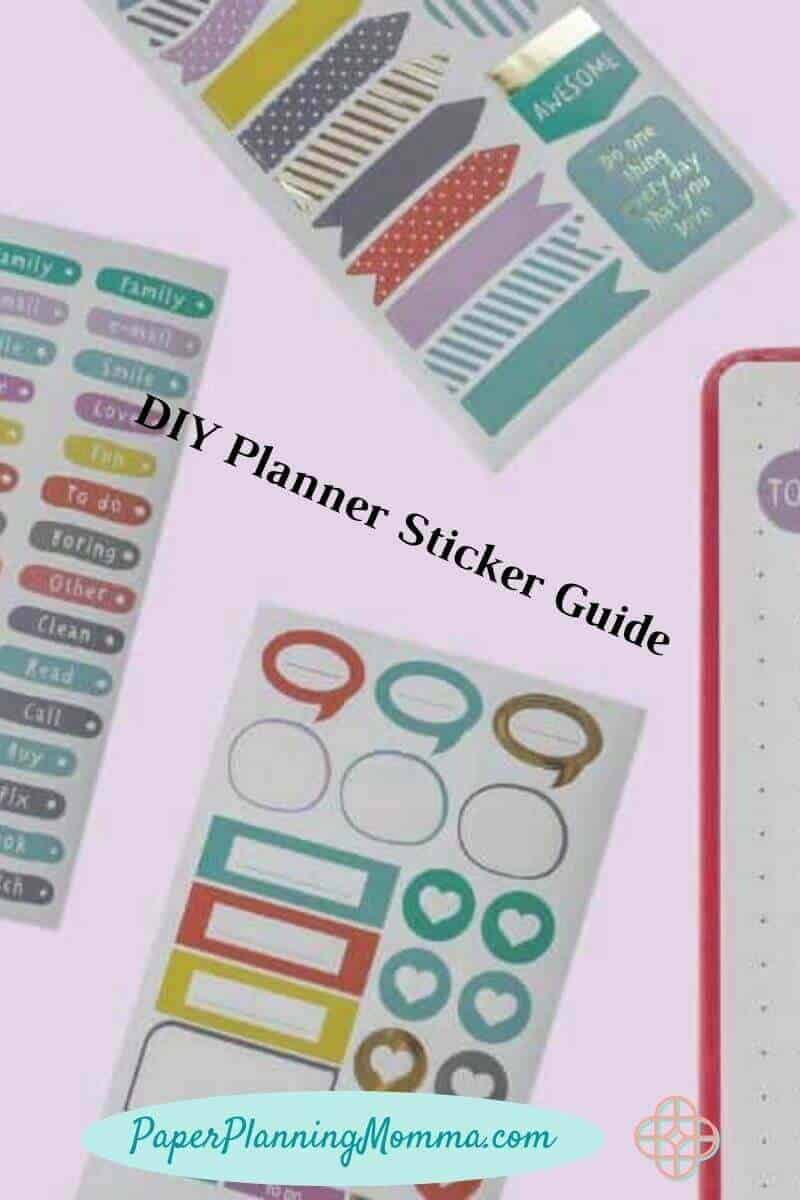
DIY Planner Stickers Guide How to Make Useful Ones at Home
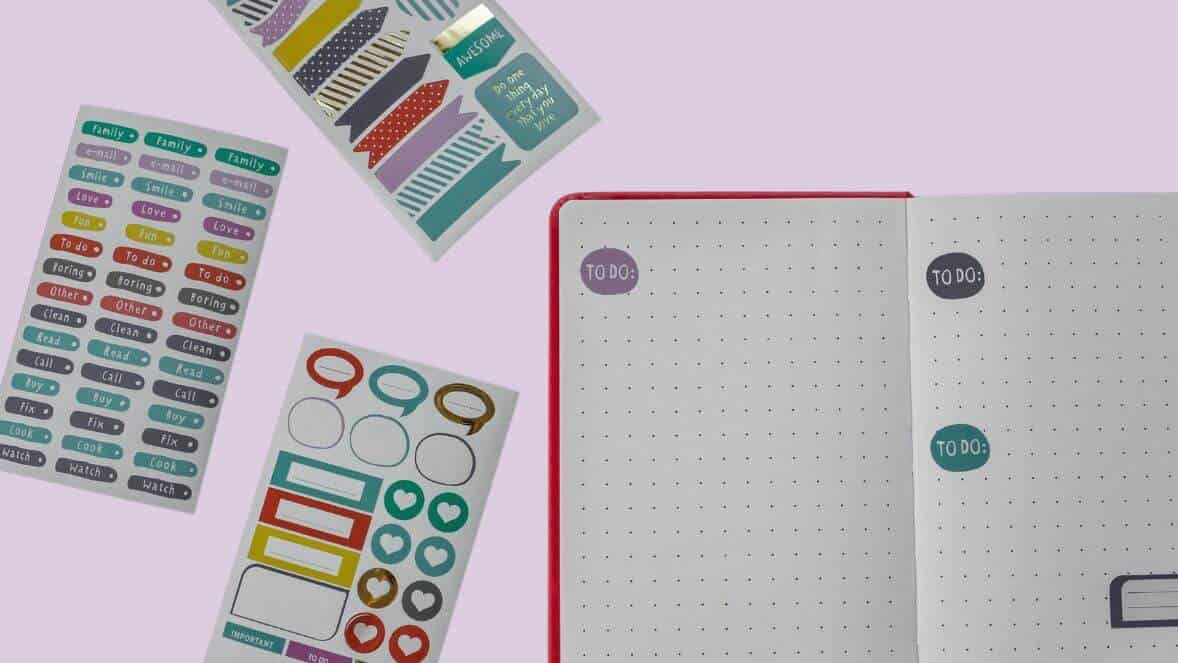
Love planner stickers but just can’t afford the Happy Planner sticker prices? They can be quite pricey if you want to have a variety. Begin making your own DIY planner labels today!
Planner stickers are a fun and functional necessity for any productive planner. So, look over our DIY planner stickers guide on how to make useful stickers at home! Stay organized, keep track of important dates, and even motivate you to conduct your goals.
This post may contain affiliate links, which means I may receive a commission, at no extra cost to you, if you make a purchase through a link. Please see my full disclosure for further information.
Plan out your designs
Before you start crafting, take a few minutes to think about what stickers you’d like to make and the design for each one. Consider your needs and what type of stickers would be the most useful for your particular planning style.
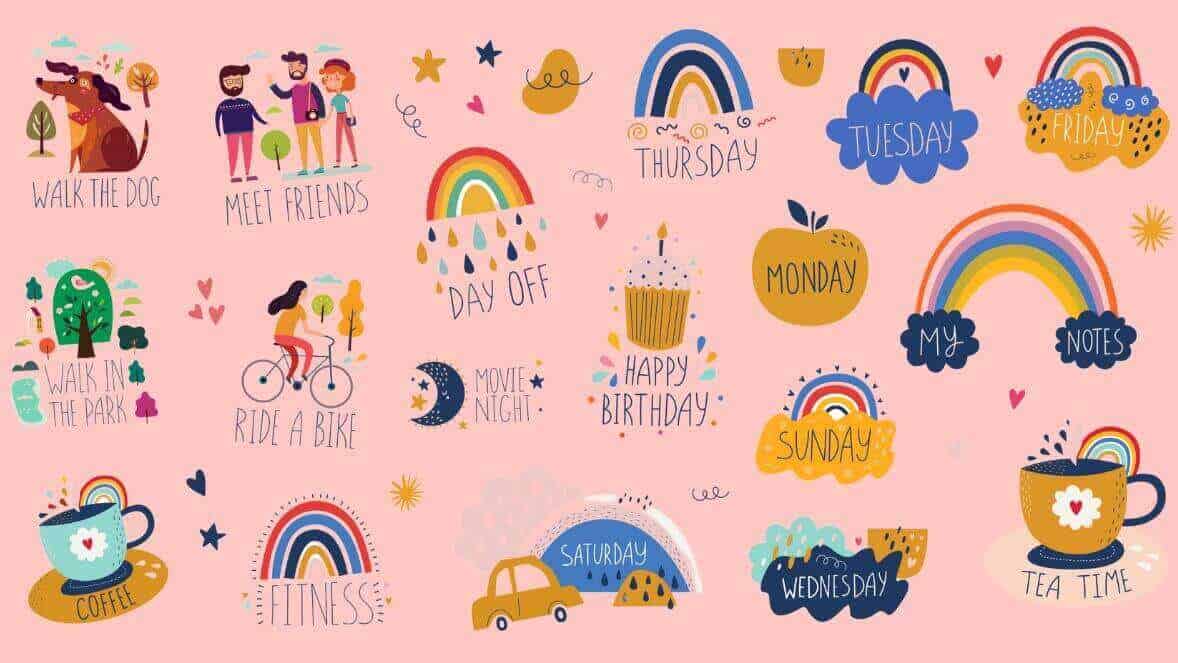
Sticker designs can be as simple or complex as you want them to be. You could make your own icons and symbols, use colors to categorize tasks, or create artwork that matches your planner’s theme.
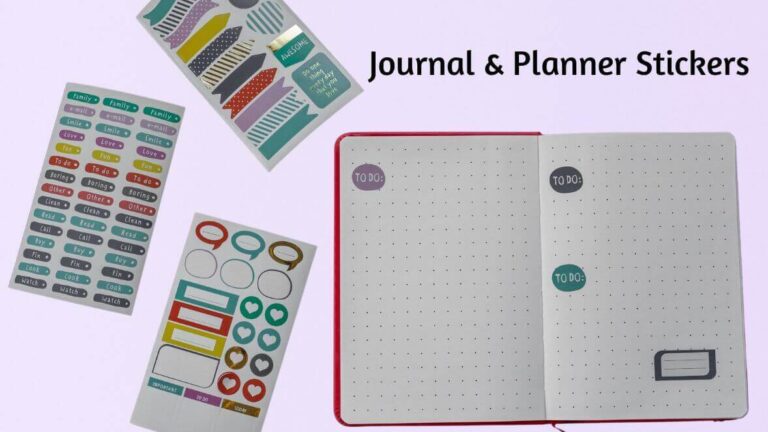
Here are some ideas of stickers:
– Date Stickers: To keep track of important dates like birthdays and holidays
– Goal Stickers: Markers for when goals have been accomplished
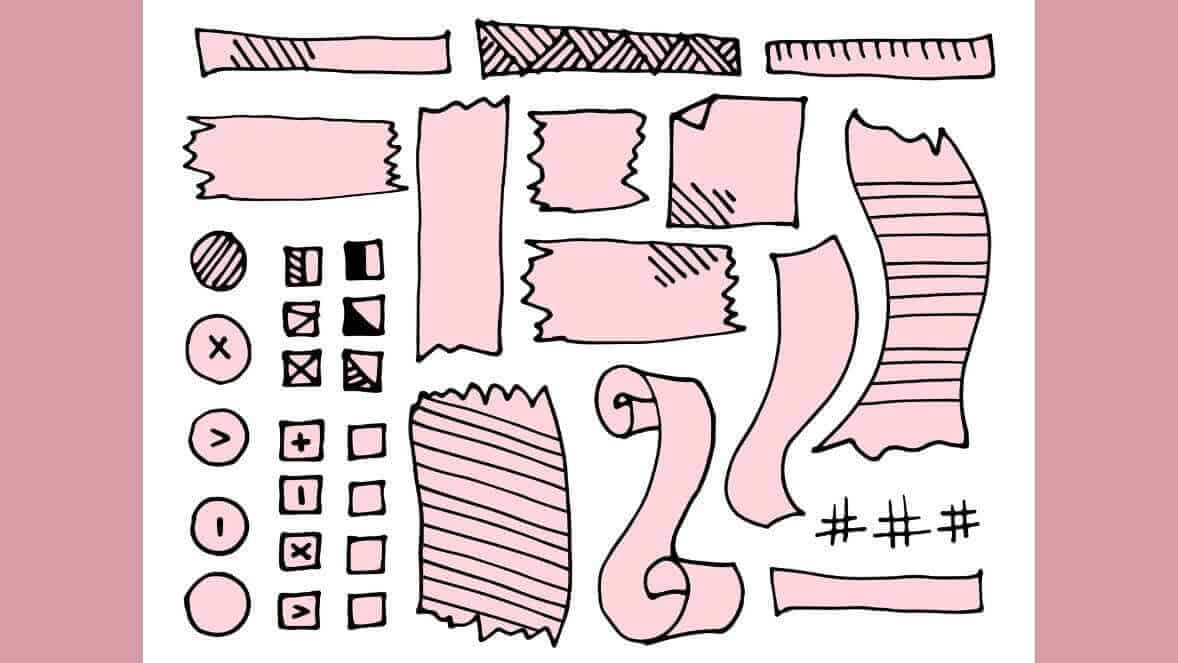
– Flag Stickers: An easy way to draw attention to important notes/tasks
– Priority Stickers: To help differentiate between urgent and nonurgent tasks
– Decorative Stickers: Add a bit of personality with fun shapes, phrases, or emojis.
-List boxes for adding tasks
Gather Materials:
Once you have your designs in mind, gather all the materials you’ll need to bring them to life. There are a ton of different materials you can use to create your own DIY planner stickers, such as paper, sticker paper, or clear vinyl. Some popular crafting tools include scissors, a cutting machine, or a punch to create the perfect shape. Don’t forget fun embellishments like glitter, washi tape, or dots.
What Kind of Sticker Paper?
When it comes to choosing the right kind of sticker paper for printing your own planner stickers, understand what you need.
Consider if you are using an inkjet or laser printer and the type of design you want to create. If you plan on using an inkjet printer, glossy or matte sticker paper is a great option. For laser printers, matte or clear sticker paper works best.
Once you have selected the type of paper you’ll be using, it’s time to actually make the stickers! To get started, find yourself a basic design program that allows you to create your own art and text for your stickers.
There are many free and low-cost programs you can use. I personally like Canva and the pro version is a small monthly fee. Well worth it.
When it comes to actually printing the stickers, be sure to print them in the highest quality setting for best results. When all your stickers are printed out, carefully cut them into their individual pieces and apply them to your planner.
Where to get Images
When it comes to obtaining images for printable planner sticker making, there are a lot of options available, each with its own considerations about copyright, licensing, and quality.
Reliable sources for getting images for sticker making:
1. Stock Image Websites:
· Sites like iStock, Shutterstock, Adobe Stock, and Jumpstay, offer a variety of images that you can buy or download under various licensing agreements. Always double check any licensing terms to ensure you have the right to use the image for sticker making purposes.
2. Free Stock Image Websites:
· There are websites like Pixabay, Unsplash, and Pexels that supply high-quality images for free. However, it’s essential to double-check the license details for each image to ensure it aligns with your intended use.
3. Creative Commons Search:
· Platforms like Creative Commons Search (search.creativecommons.org) enable you to search for images with various Creative Commons licenses. Some licenses may require attribution or have specific usage restrictions, so be sure to review the license details for each image.
4. Personal Photography:
· If you are a photographer or have friends who are photographers, consider using your or their original photos for sticker designs. This way, you have complete control over the images and their usage.
5. Public Domain Images:
· Websites like Public Domain Pictures and the Library of Congress offer public domain images that are not subject to copyright restrictions and can be freely used for any purpose, including sticker making.
6. Create Your Own Artwork:
· If you’re artistically inclined, consider creating your own illustrations, designs, or drawings to use as stickers.
7. Online Marketplaces:
· Online marketplaces like Etsy, Creative Market, and Design Bundles offer sticker design sets and illustrations that you can buy and use for your sticker-making projects. Be sure to check the licensing terms before buying.
Always respect copyright and licensing regulations when using images for DIY planner stickers. If you’re unsure about an image’s usage rights, it’s best to seek permission from the copyright owner or opt for images that explicitly allow commercial use or are in the public domain. Properly sourcing your images ensures that you can create stickers without legal issues and supports artists and photographers who have worked hard to create the content.
Making Planner Stickers
Creating planner stickers for your own use offers a range of benefits and personalization options. Custom planner stickers allow you to tailor your planner to your specific needs, preferences, and style.
By designing stickers for important tasks, events, goals, and even motivational quotes, you can enhance organization, boost productivity, and stay motivated throughout your daily routines. Additionally, the creative process of making your own stickers means you create something uniquely suited to your lifestyle. Ultimately, planner stickers empower you to transform your planner into a personalized, efficient, and visually appealing tool.
Although we don’t address specific sticker maker software, we have four that are great for making your own printable planner stickers.
Make planner Stickers in Word Document
Creating stickers in Microsoft Word can be a straightforward process. While Word is not primarily designed for designing stickers, it does offer basic tools that can be used to create simple sticker designs.
Follow these steps to create stickers in Word:
- Open Microsoft Word:
- Set the document size:
- Select “Page Layout” in the top menu.
- Click on “Size” and select the desired size for your stickers. Common sticker sizes are 2×2 inches, 3×3 inches, or any custom size you prefer.
- Turn on gridlines (optional):
- To turn on gridlines, go to the “View” tab in the top menu and check the “Gridlines” option.
- Design your sticker:
- Use Word’s basic shapes, text boxes, and images to design your sticker.
- Insert shapes, by clicking the “Insert” tab and then on “Shapes.”
- To add text, go to the “Insert” tab and click on “Text Box.” Click and drag to draw a text box, then type your desired text inside it.
- Customize your design:
- To change the color or outline of shapes, click on the shape, and use the options in the “Format” tab to adjust.
- You can also insert images by going to the “Insert” tab and clicking on “Pictures.” Select the image you want to use and insert it into your design.
- Copy your design to fill the page:
- Once you’re satisfied with your sticker design, copy and paste it to fill the entire page with stickers.
- You can copy and paste by selecting your design, “Ctrl + C” to copy, and then “Ctrl + V” to paste.
- Print your stickers:
- Make sure you have sticker paper or adhesive-backed paper loaded into your printer.
- Go to the “File” then select “Print.” Choose the proper printer and paper settings.
- Cut out your stickers:
- After printing, use scissors or a craft knife to cut stickers out individually following the outlines.
Please note that Microsoft Word is not a professional graphic design software, so its capabilities for creating complex and intricate sticker designs are limited.
Canva Pro Great for DIY Stickers
We like making DIY planner stickers using a Canva Pro account so you can download a PNG file with a transparent background. This enables uploading to your Cricut Maker so much simpler for professional cutting results.
Cricut Design and Silhouette Studio
Cricut Design Studio is a powerful yet user-friendly design software that makes creating custom planner stickers easy and fun. It’s perfect for anyone looking to make their own unique designs for planners, journals, scrapbooks, and more. Effortlessly create stunning art with user-friendly drag-and-drop interface. Plus, the program offers an extensive library of images, fonts, shapes and other elements that you can customize to suit your needs.
The Cricut Design Space also allows users to upload their own artwork from programs such as Adobe Illustrator or Photoshop if needed. Once uploaded into the platform it is easy to manipulate with tools like rotate/scale/mirror/flip until it looks the way you want. The software has a full set of drawing tools so you can easily draw whatever shape or design you need with precision accuracy too!
Cricut Cutting Machine:
Cricut cutting machines are a great way to make planner stickers at home. These machines are highly versatile, allowing for precise and intricate cuts that would otherwise be difficult or impossible to achieve with just scissors or punches. With the right materials, Cricut machines can be used to make everything from date stickers to goal stickers and even decorative accents.
Print and Cut DIY Planner Stickers:
To upload a transparent background PNG to a Cricut Maker cutting machine, you’ll need to follow these general steps. Keep in mind that Cricut’s software and interface might evolve over time, so make sure to refer to their official documentation or support resources if you meet any specific issues.
1. Prepare your design:
· Create or obtain a PNG image with a transparent background using image editing software like Adobe Photoshop, GIMP, or online tools like Remove.bg.
· Make sure the design’s dimensions are suitable for your cutting machine and the material you’ll be using.
2. Access Cricut Design Space:
· Go to Cricut Design Space online and sign in to your account. Don’t have an account yet? Create one now.
3. Create a new project:
· Click on “New Project” to start a new project in Cricut Design Space.
4. Upload your design:
· When in the design canvas, click on “Upload” in the lower left of the screen.
· Click on the “Upload Image” button and then select your transparent background PNG file from your computer.
· Follow the on-screen instructions to process the image. You may need to find areas to be cut or preserved depending on the complexity of the design.
5. Save the image as a cut file:
· Once the image is uploaded and processed, select the image in your design space and click on “Insert Images” to add it to your project.
6. Adjust the design (if necessary):
· Align and resize your design to fit your material and the desired cutting area.
7. Set the cutting material:
· Select “Make It” in the top right corner of the screen.
· Choose the right material settings (e.g., vinyl, cardstock, fabric) on the “Prepare Mat” screen to perfect the cutting settings for your specific material.
8. Connect and cut:
· Connect your Cricut cutting machine to your computer or mobile device, following the manufacturer’s instructions.
· Load the cutting mat with the material into the machine.
· Follow the on-screen instructions in Cricut Design Space to start the cutting process. The machine will read the cut lines from the uploaded PNG and cut your design accordingly.
9. Unload the mat and remove the design:
· Once the cutting process is complete, unload the mat from the machine.
· Gently remove your cut design from the cutting mat, being careful not to damage it.
Don’t forget to save your Cricut projects in case you want to print more later. That’s it! You’ve successfully uploaded and cut a transparent background PNG design using your Cricut cutting machine. Always perform test cuts on a small piece of material before cutting the entire design to ensure accuracy and prevent any material waste.
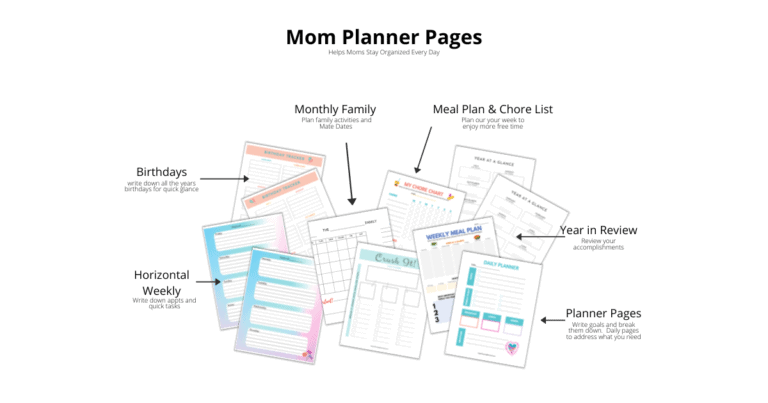
Organize Your Planner Stickers:
Now that you’ve made a bunch of stickers, it’s time to sort them out. The fun part! Cut out each design using scissors, your cutting machine, or punch. With diy planner stickers, you may need to sort into categories based on what you like. Especially if you print many different themes at once.
Some categories could be “Home Life,” “Work Life,” “Fitness,” “Birthdays,” and so on, to make it easier when you’re looking for stickers to use in your planner. It can be annoying to hunt for a sticker when you need it right away.
Have Fun! Now that you’ve created your very own planner stickers, the next step is to have fun with them! Discover the endless possibilities of using them in your planner.
Conclusion:
DIY organizer stickers are fun, budget-friendly, and can add a personal touch to your planner. Gather materials and get creative, you can create highly functional and attractive stickers that are perfect for all your planning needs. Next time you’re shopping for planner stickers, consider making your own instead – it might just change the way you approach planning!
Getting creative with DIY diary stickers is simple and rewarding. With the right materials, designs, and patience you can make your own unique stickers that will help you stay organized and motivated. We hope this DIY planner stickers guide has given you useful tips on making your own at home!