How to Print Planner Dividers and Make Awesome DIY Tabs
So, you have finally got your printable planner or bullet journal the way you want it with all the perfect planner pages. There’s just one thing missing, tabbed organizer dividers. Unbelievably, you can make DIY divider tabs yourself, and that way you can get the colors or patterns you want.
Your own dividers pages are a wonderful way to add personality and functionality to your agenda. I’ll go through the basic supplies you need and how to put it all together. It really is not all that difficult and can be fun to be creative.
Let’s get started, with the following steps you’ll have perfect binder organization in no time. Time to create your own organizer DIY dividers with tabs.
This post may contain affiliate links, which means I may receive a commission, at no extra cost to you, if you make a purchase through a link. Please see my full disclosure for further information.
Printable Planner Dividers & Inserts
The first thing is printing. I do have both an inkjet printer and a laser printer, but use my inkjet more. It’s just personal preference.
Now when printing planner pages I generally use 32lb paper, because it is sturdy enough to prevent bleed through and regular daily use.
With printable planner inserts you need a heavier weight since it will be used often, and you don’t want it to tear out. I choose to use 90lb – 100lb card stock for this.
You can buy it in plain or get colored card stock. The wonderful thing about the getting colored stock is that then you can print outlines or geometrical shapes and still have the color on the background.
Now most of what I print is for my Classic Happy Planner, however, these can be sized to fit as planner covers or regular non divider inserts.
If you choose to print these templates for covers make sure you use the following sizes.
- Big Happy Planner 9” x 11.25”
- Classic Happy Planner 7.75” x 9.75”
- Mini Happy Planner 5.125” x 7.5”
If you choose to print covers, I suggest that you laminate them. Or, you could use contact paper. Contact paper adds strength and decoration.
You will be using your planner daily and by laminating it, it will last longer through daily use. I suggest a small home laminator, however, you can do this at any print shop. Make your own planner tabs and dividers.
Tabbed Planner Dividers Supplies
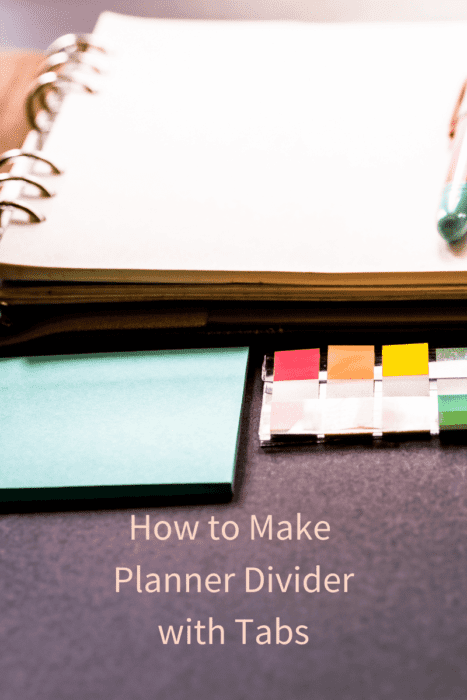
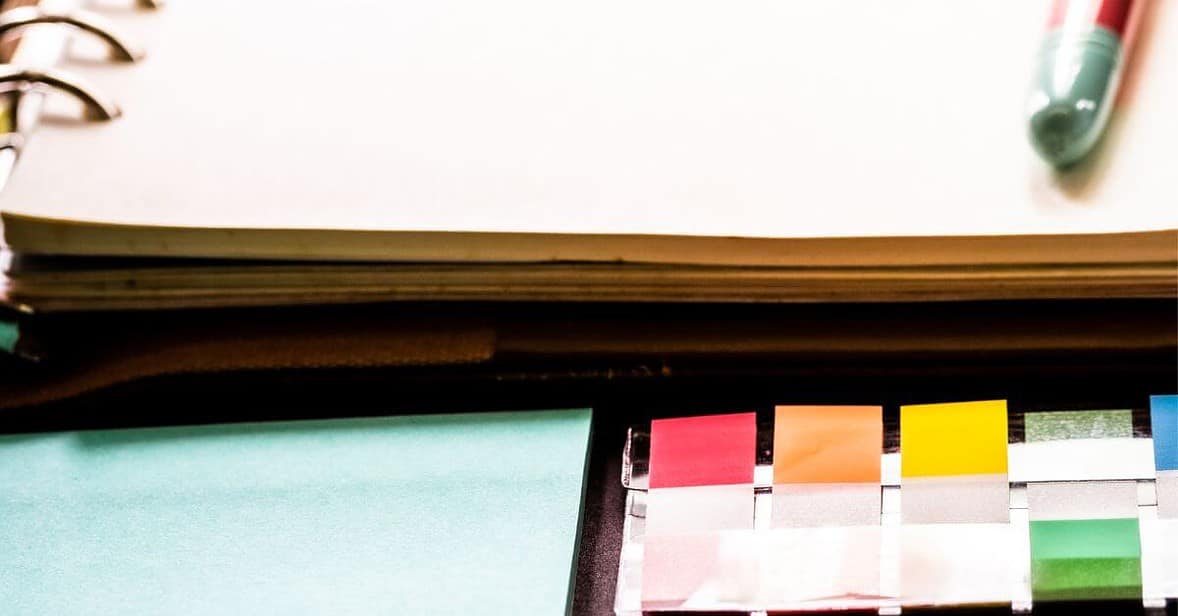
If you want your own DIY planner tabs, you can use a Tab punch and the Tab Stickers that come with it, but you can also buy them separately. I like the tab shape and size of the Tab punch.
If you want a more standardized tab, you can buy the transparent plastic tabs where you insert the paper. These are easy to use and change, but not nearly as colorful or fun as creating your own tabs. If you want a more complete list of planner supplies, check here.
It’s easy to make your own tabbed dividers using scrapbook paper or pretty paper and tape dispenser, I also like to use a corner punch to make the corners of my dividers rounded a bit.
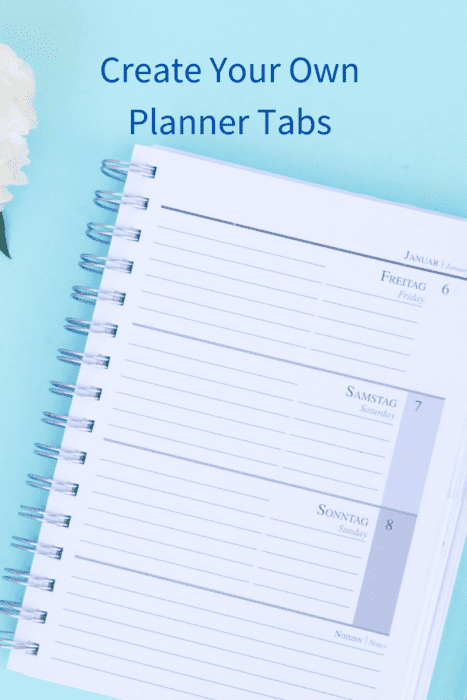
First, you’ll need to have your free printable dividers ready to go. If you want the planner tab to match the planner divider you printed off, use our pattern templates.
These are just big enough to use for the Tab Punch. Put the paper in and punch out the perfect tab dividers form – make sure to punch out two, a front and a back.
I use metallic Sharpies to add the heading to the printed tab divider before aligning it to the adhesive tab. Make sure to write it out on both tabs. Such as monthly planner dividers. Then carefully align to the adhesive, being careful not to let the adhesive fold in half.
You could also use a label maker to make label names for top tab and side tabs.
These are for more than just the monthly dividers for my calendar. Use them to mark your self-care planner and to separate stored planner stickers. I punch my sticker sheets and keep them organized in the back of my planner. But that’s for another day!
Resize Dividers & Pages for Planner Printables
Most printables on the internet are available in full page size (8.5″ x 11″). However, you may have a different sized planner.
Some downloads may have cut marks in the corners for when you resize. Little black hash marks in the corner of the full image.
However, you might find other planner pages on other sites that are full size and need to be resized to fit your planner. Download the planner printable that you want to insert usually in PDF format.
Check here for the size of planner page you need.The little black hash marks in the corners are the cut marks.

Depending on your printer, choose to either print even pages first, then flip the sheets and print the odd pages on the other side. Or if you have a printer like mine, you can choose to print on both sides, which is a lot easier!
Print our free printable planner items
1. Open the planner printable in Adobe Reader. It’s for free here. Or you can use the Edge browser like I do.
2. Go to File -> Print.
3. Select your printer.
4. Click on FIT TO PAGE.
5. Select if you want landscape or portrait orientation.
6. Click on properties.
7. Select PAGE SIZE and then CUSTOM
8. Enter the page size:
However, I have found it’s just easier to type in the scale box 82% for the Classic Happy Planner and 54% for the Mini Happy Planner. Of course, the Big Happy Planner won’t need resized.
9. Click on “OK.”
10. Print.
11. Cut the pages using a paper cutter (I love the Fiskars cutter) or scissors.
12. Punch holes with the correct hole or disc punch and place your pages in your planner.
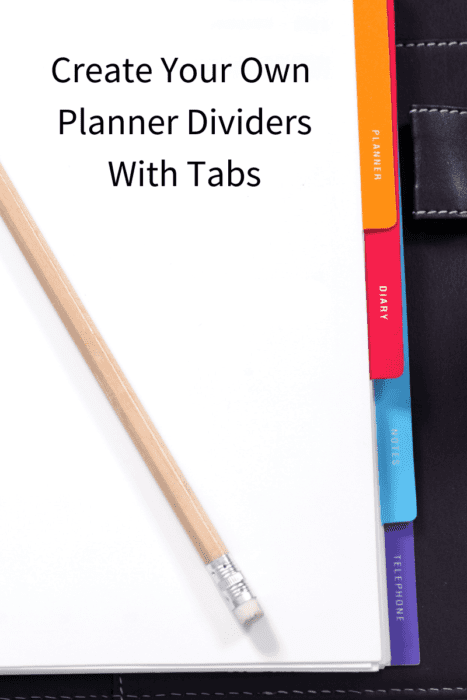
DIY Binder Tabs
Usually, I add tabs that are slightly different than the actual planner divider or mix and match colors for what it will be marking in my planner. I’m big on color coordinating everything.
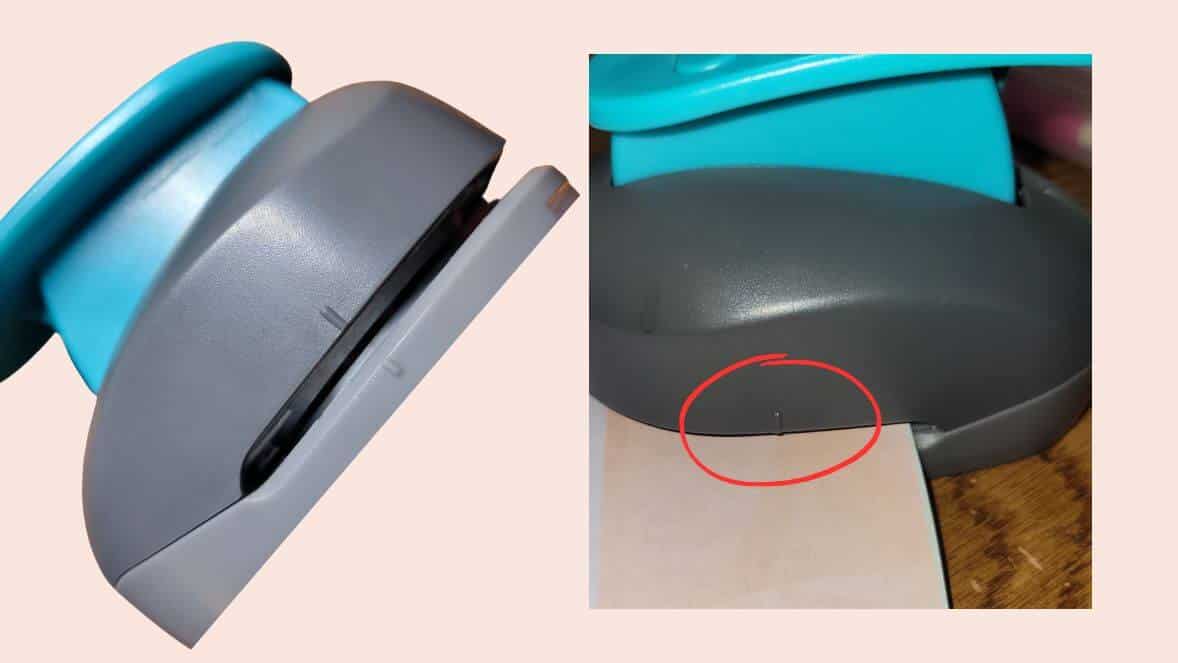
Take the Tab Punch and line up the page in the right place you want to use with the lines on the side of the punch. Make sure that your page is in the middle of the line, and the line indicates the division of the top and bottom of the tab.
Even if you can push the page clear to the back you may end up cutting off the actual tab part. Notice the mark lines on the Tab Punch.
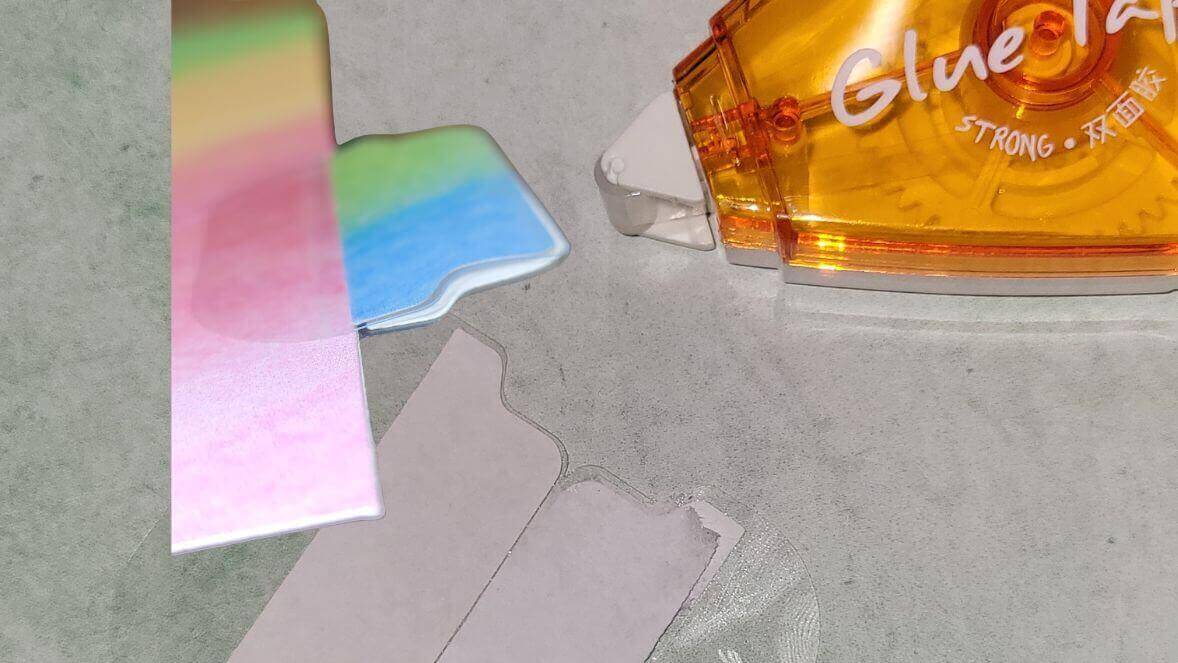
Carefully place your cut tabs on the tab adhesive, now since these fit close to the edge I always use glue tape to make sure that the tab stays stuck together after I put it on the divider.
The first rainbow planner divider I made, I didn’t realize this, so it doesn’t stick together.
Then line up the printed binder template on the first page of the divider you will be making. Line up where you want your tab to be, top, middle, or bottom.
Then carefully attach to one side of the divider and then the other and press together. Prevent a gap in the tab with glue tape.
Once you have finished creating your dividers you may not like the perfect corners, I use a corner rounder punch to smooth them out. I love this punch; it doesn’t take a lot off but makes the corners look so nice.
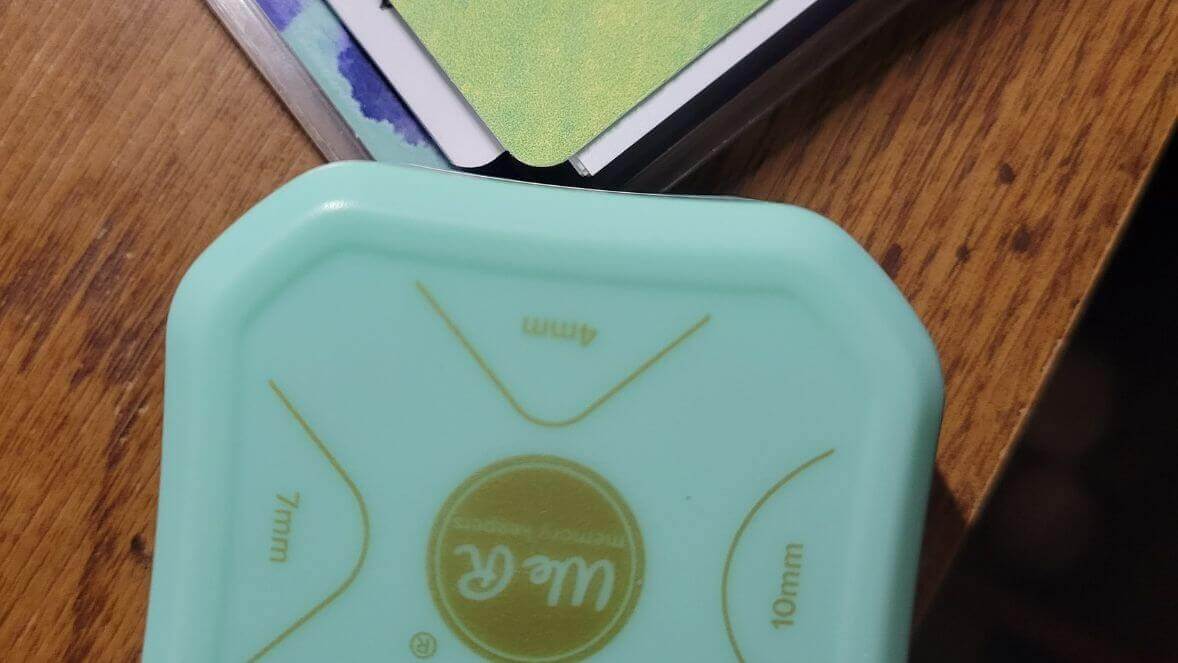
All in One Divider and Tab
Another great way to make tabs is to print your divider on cardstock and use the Tab Punch Board. Using the punch board, the tab will be a part of the actual divider.
So, there won’t be the choice to make the tab different than the actual divider. However, if you don’t feel you are steady enough to use the tab adhesives, this is a great alternative.
As you can see in the photo, this handy tab maker creates three assorted sizes of tabs. That’s handy because the size of your planner may require varied sizes. A great solution to make quick tabbed dividers.
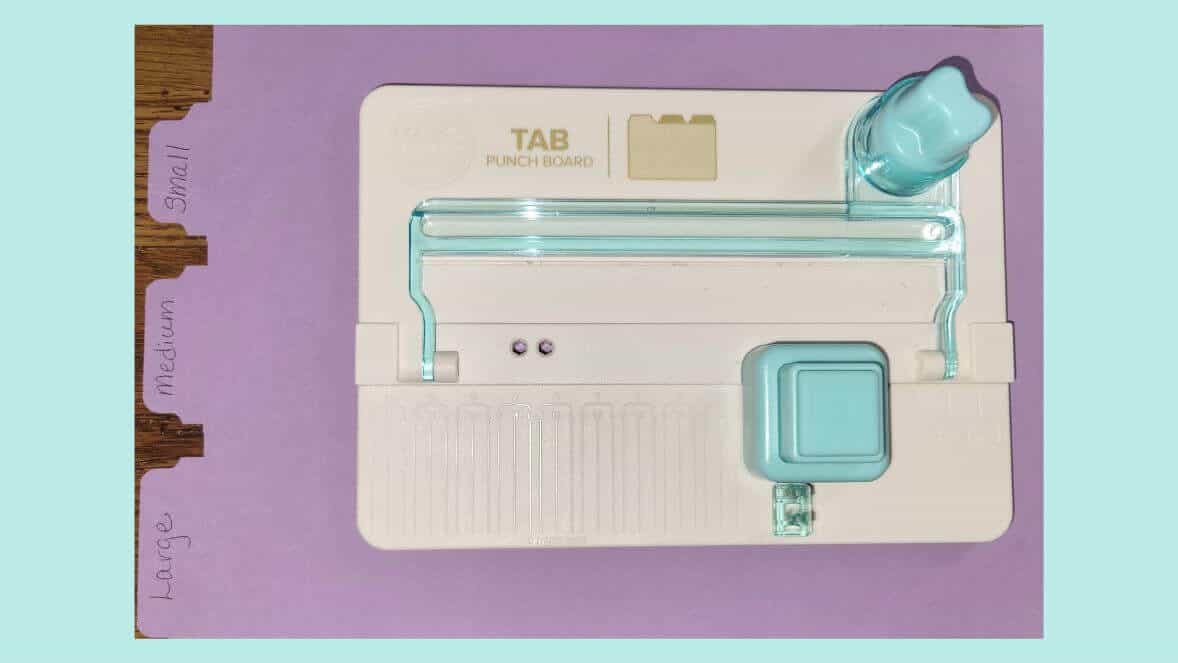
Included is a corner rounder, a paper cutter, to cut off the excess after you create your tabs. The paper cutter had me stumped for a moment, however there is a notch on the blade that fits into a groove. That ensures a nice even cut!
Finish It Up
Now of course, punch out the holes or discs on the side for the size of your planner. You can add a piece of washi tape to strengthen and add personality.
Celebrate that you now have custom made new dividers with tabs.
How do you add tabs to your free printables dividers? Do you use sticky tabs, post-it notes, or just buy the premade ones for a specific planner? Or do you have another way, share your thoughts and ideas with me!